How Do You Match a Replacement Lid to an Existing Pot?
On this page (11 sections)
Quick answer: Measure the pot where the lid actually rests, then match the seat diameter, rim profile, flange depth, handle clearance, material, and heat limit. The pot’s advertised diameter alone may not guarantee a stable fit.
The lid should sit level without falling inward, rocking excessively, binding, or striking the pot handles.
What You Need to Match
| Feature | What to check | Problem if wrong |
|---|---|---|
| Seat diameter | Ledge or rim that supports the lid | Lid falls in or balances outside |
| Rim profile | Flat, rolled, flared, or stepped shape | Rocking or gaps |
| Inner flange | Diameter and depth inside the pot | Binding or incomplete seating |
| Hardware clearance | Knob and edge relative to handles | Interference or unstable position |
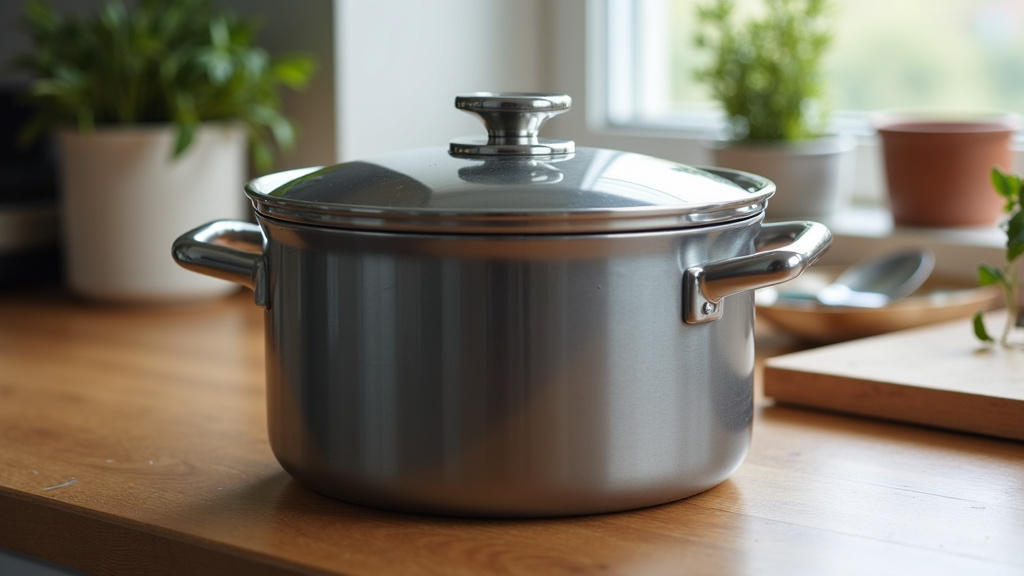
How to Measure for a Replacement Lid
- Cool, empty, and clean the pot.
- Identify the exact ledge or inner rim where the old lid rested.
- Measure straight across that seat through the center.
- Take a second measurement at a right angle to detect an out-of-round rim.
- Note the rim shape and any raised or rolled edge.
- Measure clearance around side handles and other hardware.
- Compare your measurements with the lid maker’s fit range or compatibility list.
Use a rigid ruler or caliper where practical. Measuring only the pot’s widest outside edge can lead to a lid that balances on top rather than seating securely.
Best first option: Search the cookware maker’s parts catalog by exact model. An original replacement is more likely to match the rim, handle clearance, venting, and heat rating.
Test the Fit Before Cooking
Place the cool lid on the empty pot. It should rest level and remain stable during gentle handle movement. A small amount of normal play may exist, but the lid should not slide toward the center or tip easily.
Check that the flange does not scrape a coating and that the edge does not bind as the lid is lifted. Confirm that the knob remains easy to grasp without contacting hot side handles.
Glass, Metal, and Universal Lids
Glass lids
Glass provides visibility but adds weight and may have a lower impact or temperature tolerance. Inspect for chips, cracks, and damaged edge bands.
Metal lids
Metal is generally opaque and may feel lighter. The exact construction and handle determine its oven and broiler limits.
Universal lids
Stepped rings or flexible edges can fit a range of diameters. Verify that the claimed range includes the measured seat and that the lid remains stable on your rim profile.
Heat warning: Never assume the replacement lid, knob, vent, and pot body share one oven or broiler limit. Follow the lowest applicable rating.
Venting and Cooking Performance
A vented lid releases some steam continuously, while an unvented lid may retain more moisture. Neither design is universally better. Choose the one appropriate for your recipes and never block a designed steam vent.
A replacement lid does not need a pressure-tight seal for ordinary cookware. Do not modify or substitute parts on pressure-cooking equipment; use only approved components for the exact model.
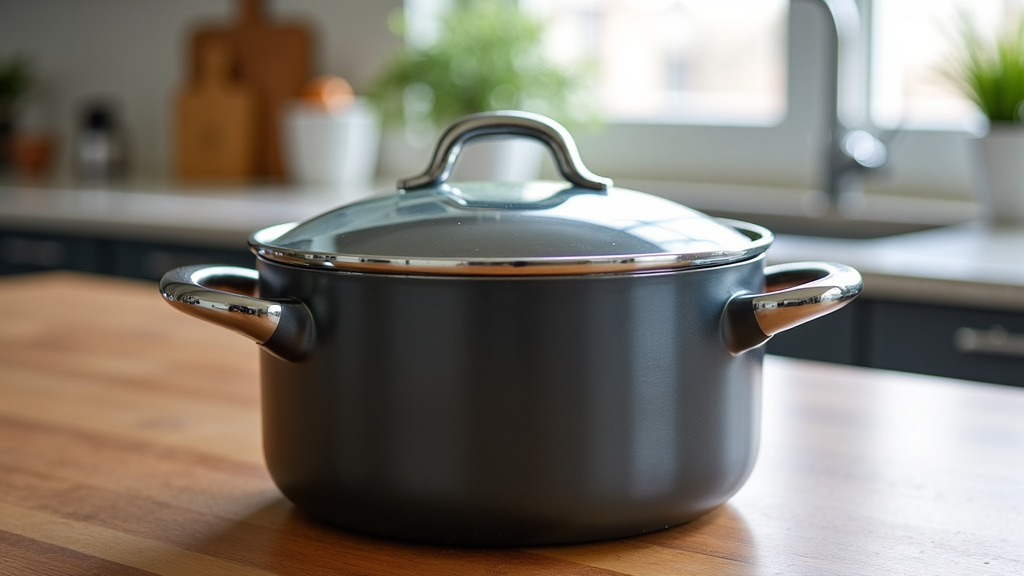
When Not to Use a Candidate Lid
- It balances only on the outer rim
- It can fall inward or slide off easily
- The glass is chipped, cracked, or deeply scratched
- The metal edge is bent or sharp
- The flange scrapes the cooking surface
- The knob is loose or has an unsuitable heat rating
- The lid interferes with pot handles
What to Record Before Shopping
- Brand and exact model, if visible
- Seat diameter in inches and millimeters
- Rim profile and photographs from above and from the side
- Pot material and any coating
- Required oven temperature range
- Whether you want a steam vent
- Maximum overall lid width around nearby handles
Using both inches and millimeters reduces confusion when a parts listing uses a different unit. Photos help you compare the rim and flange shape, but measurements should remain the primary guide.
After You Find a Match
Wash the lid according to its instructions, inspect the knob and fasteners, and test it on the cool pot. For the first heated use, remain nearby and observe stability, steam release, and handle temperature.
Keep the replacement documentation. If the lid’s maximum temperature is lower than the pot’s, the lower limit governs the combined setup.
The Bottom Line
Measure the seating surface rather than trusting nominal pot size. Then verify rim shape, flange, hardware, venting, and temperature limits. A stable, compatible fit is more important than a lid that merely looks the right size. If you are comparing sets, check which pans and lids are included in the cookware set pieces. You can also check whether set counts include lids as separate pieces.
Frequently Asked Questions
Can I buy a lid using only the pot’s listed diameter?
It is a starting point, but seat diameter and rim profile provide a more reliable match.
Should a pot lid fit tightly?
Ordinary lids may have slight play, but they should sit level and stable. They are not pressure seals.
Can one lid fit multiple pots?
Yes, if the seat dimensions, rim profiles, and intended use are compatible.
Is a vented lid better?
It can reduce steam buildup, while an unvented lid may retain more moisture. Match the design to the recipe and original cookware guidance.
Can I replace a pressure-cooker lid this way?
No. Pressure equipment requires approved model-specific parts and procedures.


